
Replacing a shower door guide is essential for ensuring smooth operation and preventing water leakage. Over time, guides wear out, causing misalignment and functional issues. This guide provides step-by-step solutions to common problems, helping you restore your shower door’s efficiency and maintain its longevity with proper replacement and maintenance techniques.
1.1 Importance of the Bottom Guide
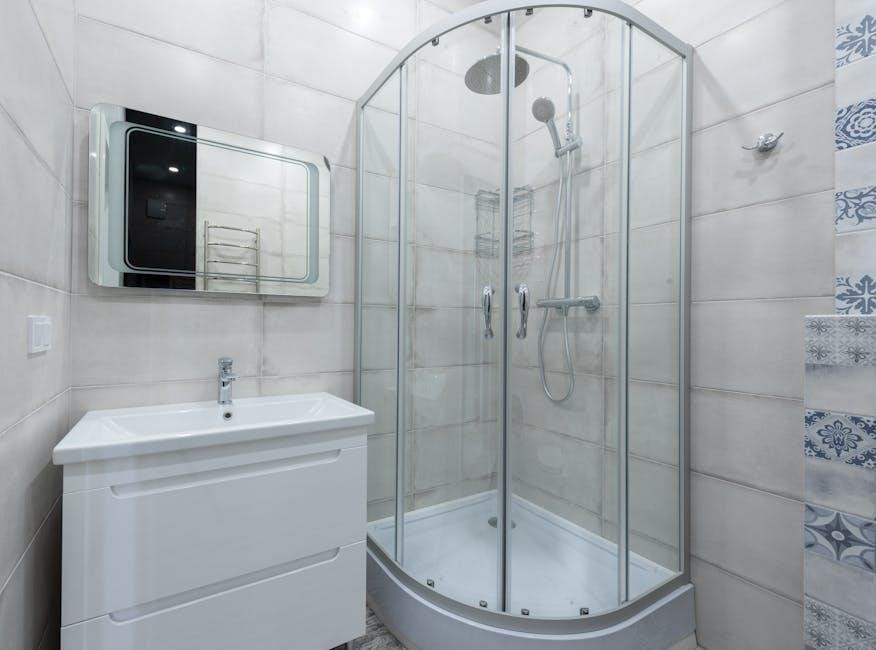
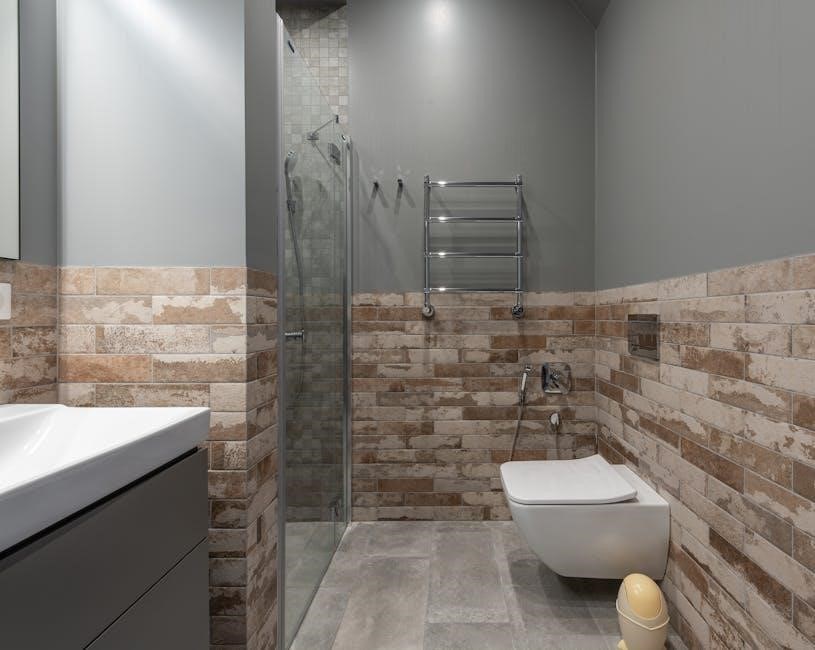
The bottom guide is crucial for ensuring proper alignment and smooth operation of the shower door. It prevents the door from sliding off the track and helps maintain a watertight seal, reducing water leakage. A functional guide also minimizes wear and tear on the door and frame, ensuring longevity. Neglecting the bottom guide can lead to misalignment, water damage, and increased maintenance needs. Regular inspection and timely replacement are essential to uphold bathroom functionality and appearance. This component plays a key role in maintaining the overall efficiency and aesthetic appeal of your shower enclosure.
1.2 Common Issues with Shower Door Guides
Shower door guides often face issues like misalignment, wear, and damage, leading to improper door closure and water leakage. Over time, the guides can become loose or warped, causing the door to slide unevenly. Dirt and mildew buildup in the track can also obstruct smooth movement. Additionally, the guides may crack or break due to heavy use or accidental impact. These problems can make the shower door difficult to open or close, compromising both functionality and bathroom aesthetics. Regular inspection and cleaning are essential to prevent such issues, but when damage occurs, timely replacement is necessary to restore proper operation and prevent further complications.
Tools and Materials Needed

Essential tools include a flathead screwdriver, Phillips head screwdriver, WD-40, and a razor blade. Materials needed are silicone sealant, replacement guides, and screws for a secure fit.
2.1 Essential Tools for Replacement
To replace the shower door guide, you’ll need a flathead screwdriver for prying and adjusting, a Phillips head screwdriver for removing screws, and WD-40 to loosen stuck parts. A razor blade or utility knife can help scrape old adhesive or debris. Pliers may assist with stubborn screws, while a small hammer and block of wood can gently tap the new guide into place. A microfiber cloth is useful for cleaning the area before installation. Ensure all tools are within reach to streamline the process and avoid damage to the shower door or frame. Proper tools ensure a secure and efficient replacement.
2.2 Recommended Materials for a Secure Fit
For a secure fit, use high-quality replacement guides designed for your shower door model. Silicone-based adhesive or hot glue can reinforce the installation. Apply weatherstripping or rubber seals to prevent water leakage. Ensure the new guide is made from durable materials like stainless steel or PVC to withstand moisture. Additionally, using Command Strips or foam squares can enhance stability, though silicone caulk is often preferred for a waterproof seal. Always choose materials compatible with your shower door’s frame to maintain structural integrity and ensure long-lasting performance. Proper materials selection guarantees a snug fit and optimal functionality of the shower door guide.
Step-by-Step Guide to Replacing the Bottom Guide
Inspect the guide, remove the shower door, and take out the old guide. Install the new one, ensuring proper alignment, and reinstall the door for smooth operation.
3.1 Removing the Shower Door
To remove the shower door, start by sliding it to one side of the frame to access the bottom guide. Locate the screws holding the door in place and remove them using a Phillips head screwdriver. If the screws are stubborn, apply WD-40 to loosen them. Once the screws are out, carefully lift the door away from the frame. For sliding doors, you may need to slide them off the track completely. Place the door on a flat, stable surface to prevent damage. If the door is particularly heavy, consider enlisting help to avoid injury or further damage.

3.2 Taking Out the Old Guide
Removing the old guide requires careful prying to avoid damaging the surrounding area. Insert the narrow side of a flathead screwdriver into the guide’s groove, ensuring at least half the blade is flush against the guide. Gently pry upward while sliding a long razor blade underneath to loosen it. Work slowly, progressing in small increments to avoid breaking the track. If the guide resists, apply slight force but be cautious not to scratch or bend the metal. Once the old guide is removed, inspect the area for any remaining debris or adhesive, which can be cleaned with a cloth or sandpaper to prepare for the new installation.
3.3 Installing the New Guide
Align the new guide with the track, ensuring it fits snugly into position. Gently tap it into place using a block of wood and a hammer to avoid damaging the track or guide. Once aligned, secure the guide by tightening the screws firmly. Double-check the fit by sliding the shower door to ensure smooth movement. If necessary, adjust the guide slightly for proper alignment. Finally, apply a small amount of silicone sealant around the edges to ensure stability and prevent water seepage. Allow the sealant to dry before testing the door’s operation.

3.4 Reinstalling the Shower Door

Once the new guide is securely in place, carefully slide the shower door back onto the track. Ensure the door is properly aligned with the frame and the guide. Gently push the door into position, making sure it sits evenly on the track. Reattach any screws or clips you removed earlier, tightening them firmly to secure the door. Test the door’s movement by sliding it back and forth to ensure smooth operation. If the door feels unstable, adjust the alignment or tighten the screws further. Finally, inspect the door’s fit and ensure there are no gaps or misalignments that could lead to water leakage or improper function.

Tips for Maintaining the Bottom Guide
Regularly clean the guide and track with a damp cloth and baking soda to prevent dirt buildup. Lubricate with silicone spray to ensure smooth door movement and longevity.
4.1 Cleaning the Guide and Track
Cleaning the guide and track is crucial for maintaining smooth shower door operation. Use a mixture of baking soda and water to gently scrub away dirt and soap scum. A microfiber cloth can effectively remove grime without scratching the surface. For tougher buildup, soak the area with white vinegar before cleaning. Regular maintenance prevents corrosion and ensures the guide functions properly, keeping your shower door sliding effortlessly. Avoid harsh chemicals that might damage the material. Instead, opt for natural abrasives that are gentle yet effective in preserving the guide’s condition and extending its lifespan.
4.2 Preventing Future Damage
To prevent future damage to the shower door guide, ensure proper alignment during installation and use silicone sealants to protect against water seepage. Regularly inspect the guide for wear and tear, addressing issues before they escalate. Avoid using abrasive cleaners, as they can damage the material. Applying a protective sweep or seal along the bottom edge can also prevent debris from accumulating and causing damage. Additionally, ensure the shower door is properly balanced to avoid unnecessary strain on the guide. By taking these preventive measures, you can extend the lifespan of your shower door guide and maintain smooth, trouble-free operation.
Cost of Shower Door Guide Replacement
Shower door guide replacement costs typically range from $15 to $50 for basic models, while more complex systems can reach up to $200. Prices vary based on material quality, size, and brand.
5.1 Average Replacement Costs
The average cost to replace a shower door guide ranges from $15 to $50 for basic models. Mid-range options, including higher-quality materials, typically cost between $50 and $100. For premium or custom guides, prices can reach up to $200. Factors such as the type of material (plastic, metal, or adjustable), brand, and size contribute to the variation in costs. Basic plastic guides are the most affordable, while metal or adjustable models are more expensive but offer better durability and functionality. Additionally, labor costs may apply if professional installation is required, adding $50 to $100 to the total expense.
5.2 Factors Affecting Cost
The cost of replacing a shower door guide can vary based on several factors. Material quality is a significant influence, with plastic guides being more affordable than metal or adjustable models. The size and type of the shower door, such as single or double doors, also impact the price. Brand and design complexity, like custom or specialized guides, can increase costs. Additionally, labor fees may apply if professional installation is required, raising the total expense. Door width and track compatibility further affect the price, as larger or non-standard sizes may require more expensive parts. These factors combined determine the final cost of the replacement.